For an autumn harvest, it’s a little more complicated than spring, considering you’re up against the potential of an early winter frost. Every year, the first frost date can come at a different time. Using the 30-year rolling average, according to the Farmer’s Almanac, tells us that the earliest average frost in the Allentown area is October 10th. If you live near a valley or mountain, understandably the frost dates can vary. This date is only used as a guide, so you’ll need to use your own judgement when planting.
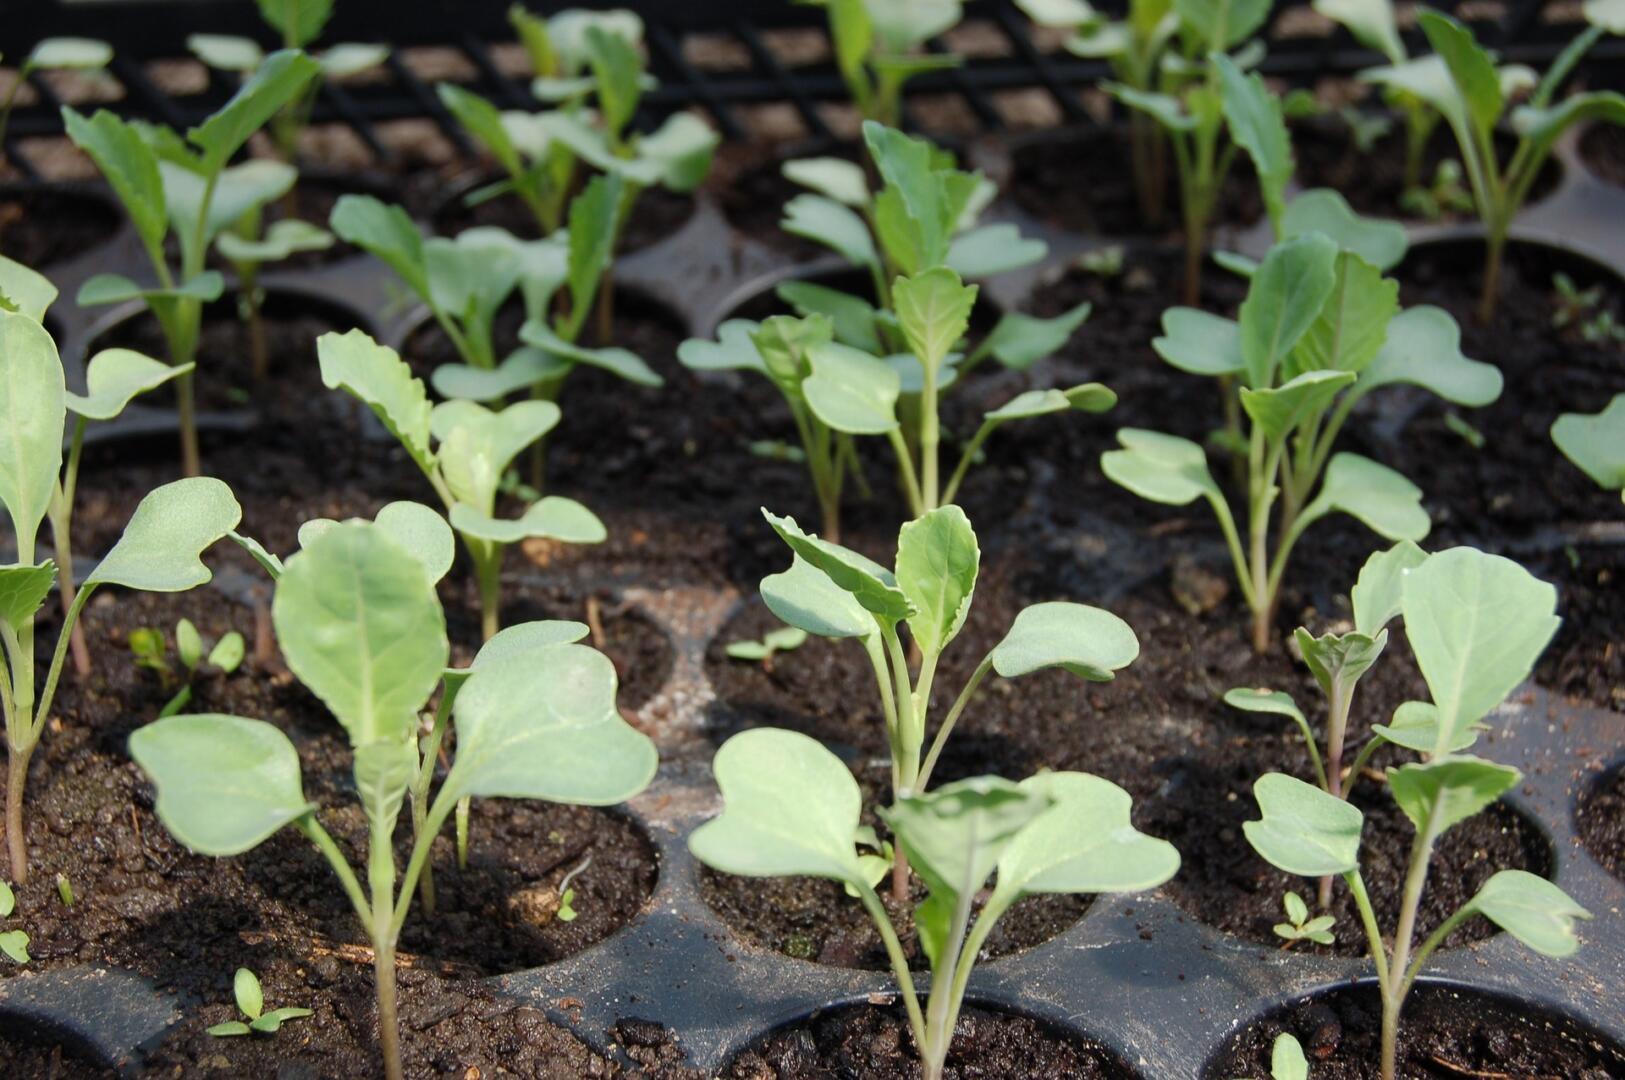
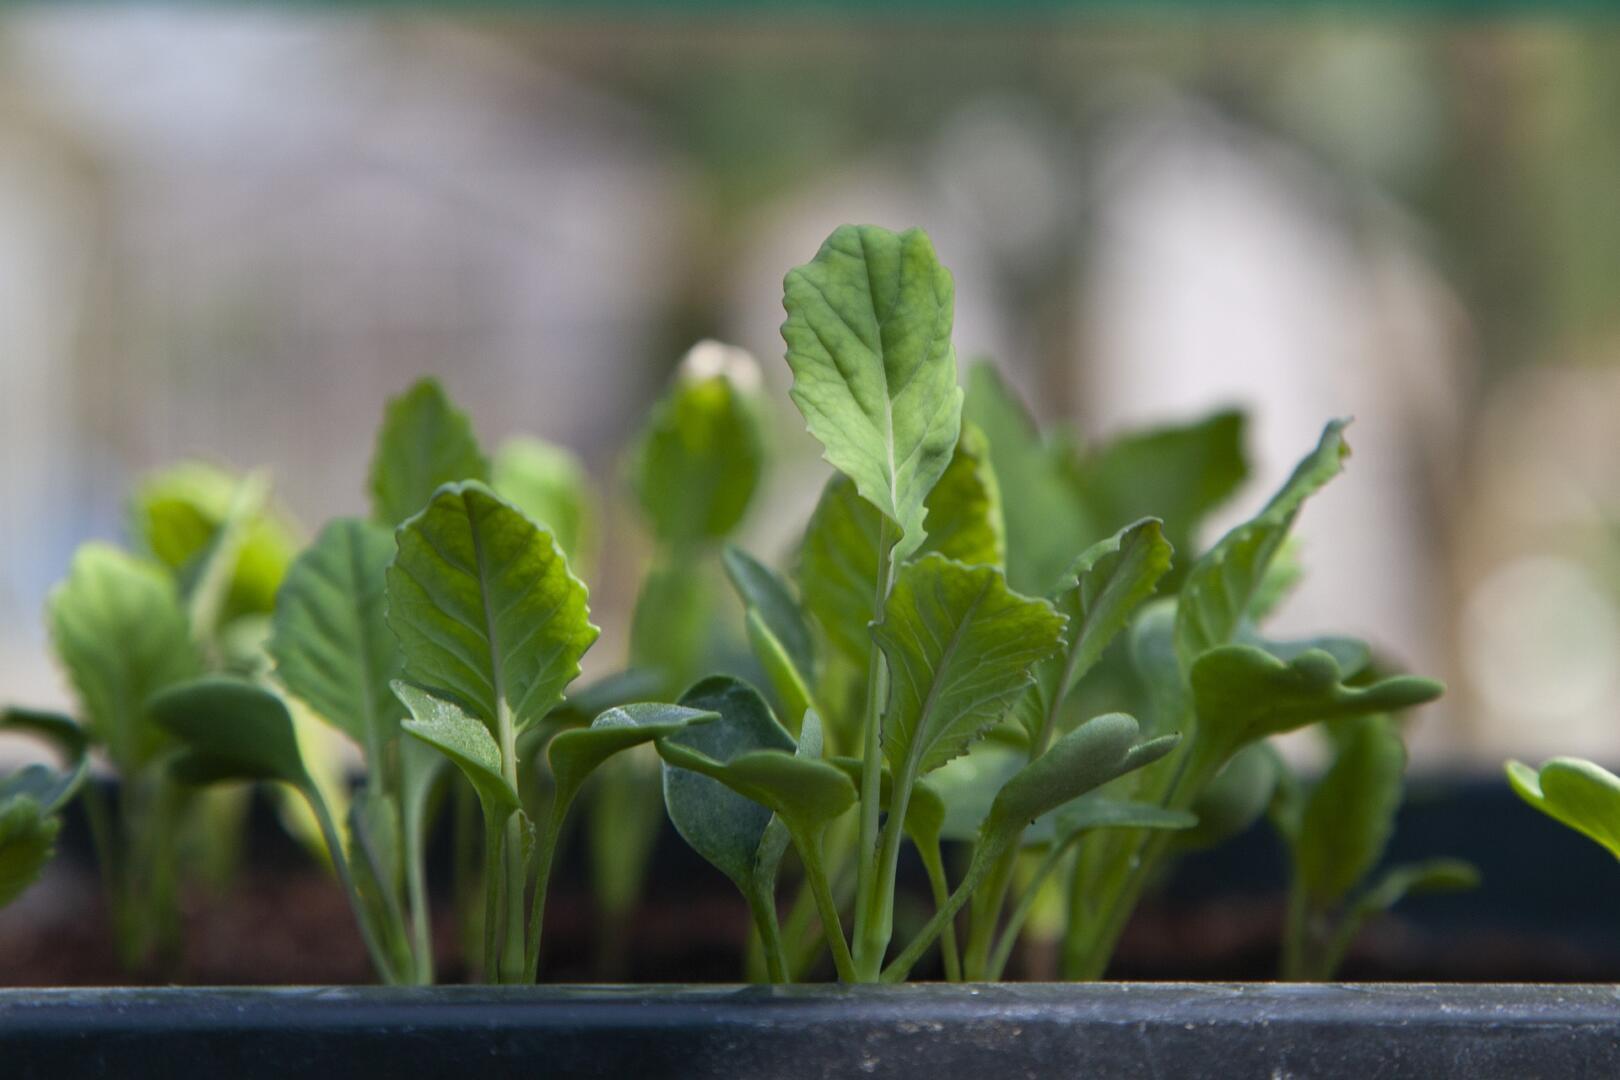
Although many fall seeds can be sown directly into the ground, there are a few that have a longer maturing period and simply cannot handle summer heat. Starting them indoors provides these young, tender plants a chance to grow in a controlled environment vs. the unpredictability of rain, drought and light conditions as well as pests or diseases. Inside, you can control these elements and get your plants off to a healthy start.
Not all seeds are meant to be started inside! In fact, most are better off being sown directly in the ground. Some are susceptible to growing conditions or need a head start due to its maturity periods.
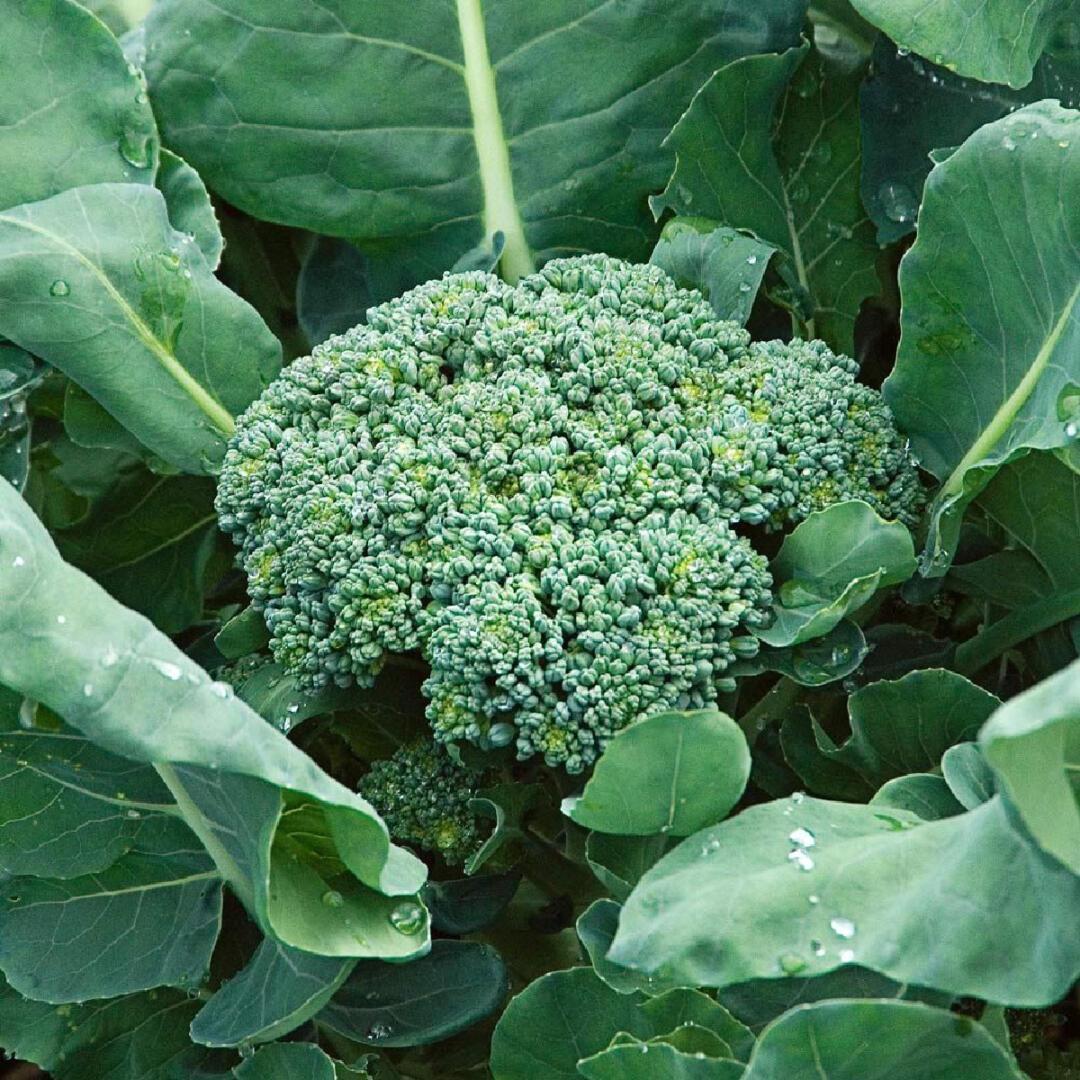
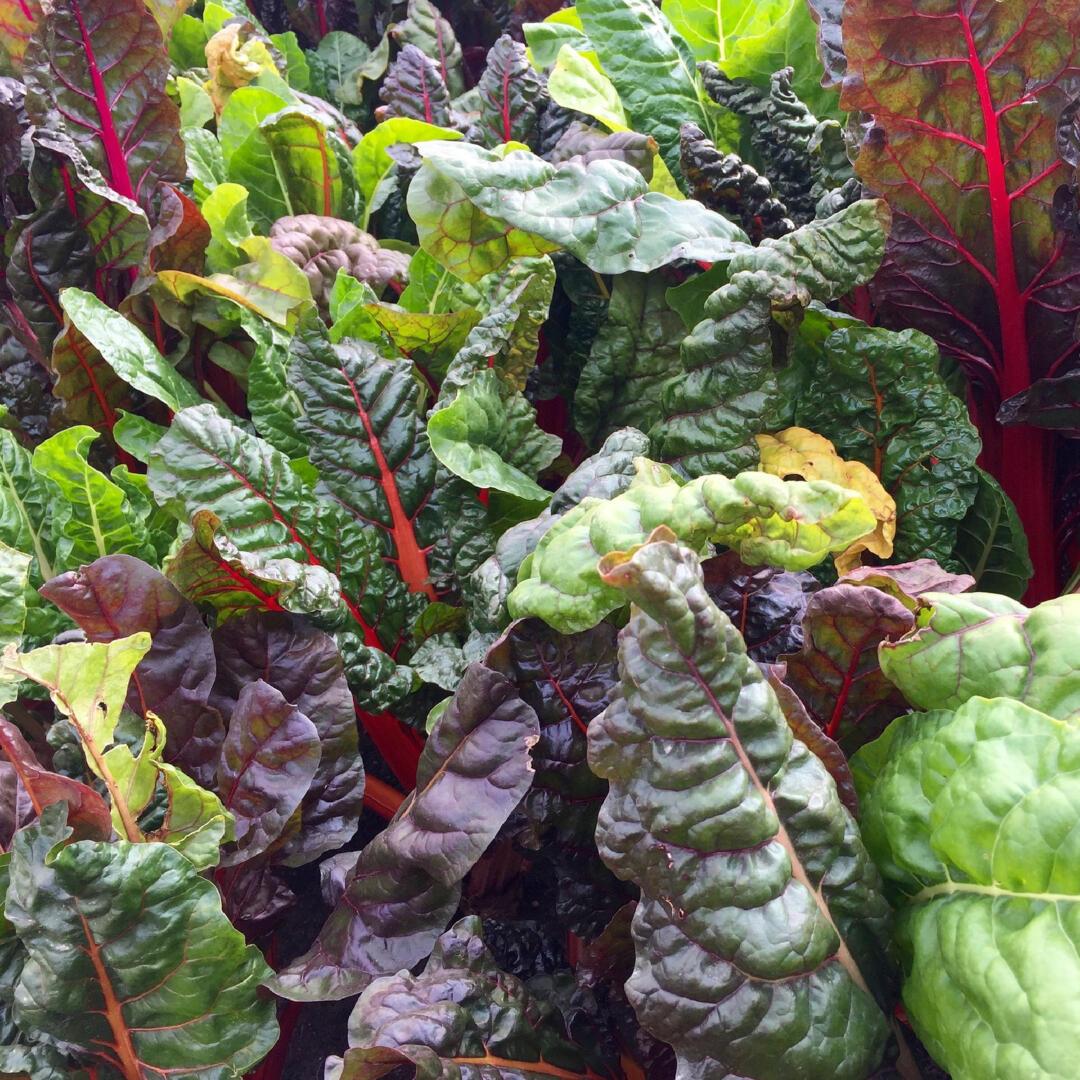
Because of the heat of summer, it’s best to start vegetables like broccoli, cabbage, cauliflower, and kale inside so they can get a head start. Lettuce, spinach, and Swiss chard can be planted both indoors and outdoors, depending on its maturity date. Check package information.
Starting Seeds
Almost any container with drainage holes can be used to start seeds, including milk or egg cartons, yogurt cups and growing trays. When reusing containers, they should be cleaned and sanitized and have holes in the bottom for drainage.
Medium/Soil
A good quality, bagged seed-starting mix or compressed peat pellets are great for holding moisture and are free of sticks and other debris. Miracle Gro, Espoma, and Jiffy brands are just a few names to consider using. Avoid using potting soils or garden soils which can lead to damage to young seedlings. Moisten the medium before filling your containers.
Moisture
Cover the seed containers with a clear, domed lid or plastic wrap to help retain moisture and increase humidity during germination. After the seedlings emerge, remove the cover. Misting with a spray bottle or bottom watering (adding water to the drainage tray) are good ways to keep the soil moist without disturbing the young seedlings. Check the moisture regularly to prevent the seedlings from sitting in too much water and rotting, or the opposite…drying out.
Temperature
Optimal temperatures for germinating vary for each specific plant, so check the seed packet for its particular needs. Once the seeds germinate, room temperatures of 70°-75°F will help most seedlings grow best. At this time of year, there should be no need for heating mats.
Light
For best growth, seedlings need at least 14 hours of good quality light each day. Even your sunniest window might not supply enough light to grow strong plants. This is when you might want to consider using grow lights. If you are using a fluorescent fixture, a cool-tone, or a mix of cool and warm-tone bulbs…it is recommended to be situated 1-2” above the seedlings. Grow lights can be placed further from seedlings, but if it looks like they are stretching towards the light, the bulbs are too far away and need moved a little closer. Regular incandescent lightbulbs will not work and will result in the heat from the bulbs damaging the plants.
Circulation
Air circulation around seedlings can help prevent disease problems while strengthening the seedlings. A fan on its low setting will create enough airflow but avoid aiming it directly at the plants or this could cause rapid drying of the soil.
Fertilizer
If your seed starting mix does NOT contain nutrients you should add a diluted amount of slow-release, organic, balanced fertilizer to the medium or use a liquid formula once the seedlings have a set of true leaves. Check your bag of medium to determine this before adding anything additional by accident. Don’t just assume it needs it or this could cause the seeds to a.) not germinate properly or b.) burn its tender roots. Balanced fertilizers have equal parts of nitrogen, phosphorus, and potassium represented on the label as numbers with dashes. For example: 20-20-20. Check the label for instructions on diluting the fertilizers and recommended frequency for seedlings and transplants.
Hardening Off
This is the process of introducing and acclimating the seedlings to the outdoor conditions in a slow manner in your region. The hardening off process reduces transplant stress that negatively impact the plants overall performance and fruit/vegetable yield. Start by placing the plants in a protected, shady area and progress to more sun over a 7–10 day period. At this time, the seedings will be ready for transplanting. Do this on a cloudy day in the evening when the sun and heat is decreasing for the day. This also helps to reduce stress on the plants.
| Planting Dates for Fall | |
| (according to average frost date) | |
| Start Seeds Indoors | |
| June 19 | Transplant Date |
| Brussels Sprouts | July 17 |
| Cabbage | July 17 |
| Planting Dates for Fall | |
| (according to average frost date) | |
| June 29 | Transplant Date |
| Broccoli | July 27 |
| Planting Dates for Fall | |
| (according to average frost date) | |
| July 19 | Transplant Date |
| Kale | August 16 |
| Kohlrabi | August 16 |
| Start Seeds Outdoors | |
| August 21 | |
| Kohlrabi | |
| August 26 | |
| Beets | |
| August 31 | |
| Lettuce | |
| Swiss Chard | |
| Turnips | |
| September 5 | |
| Arugula | |
| Endive | |
| Mustard | |
| Radish | |
| September 15 | |
| Spinach | |


