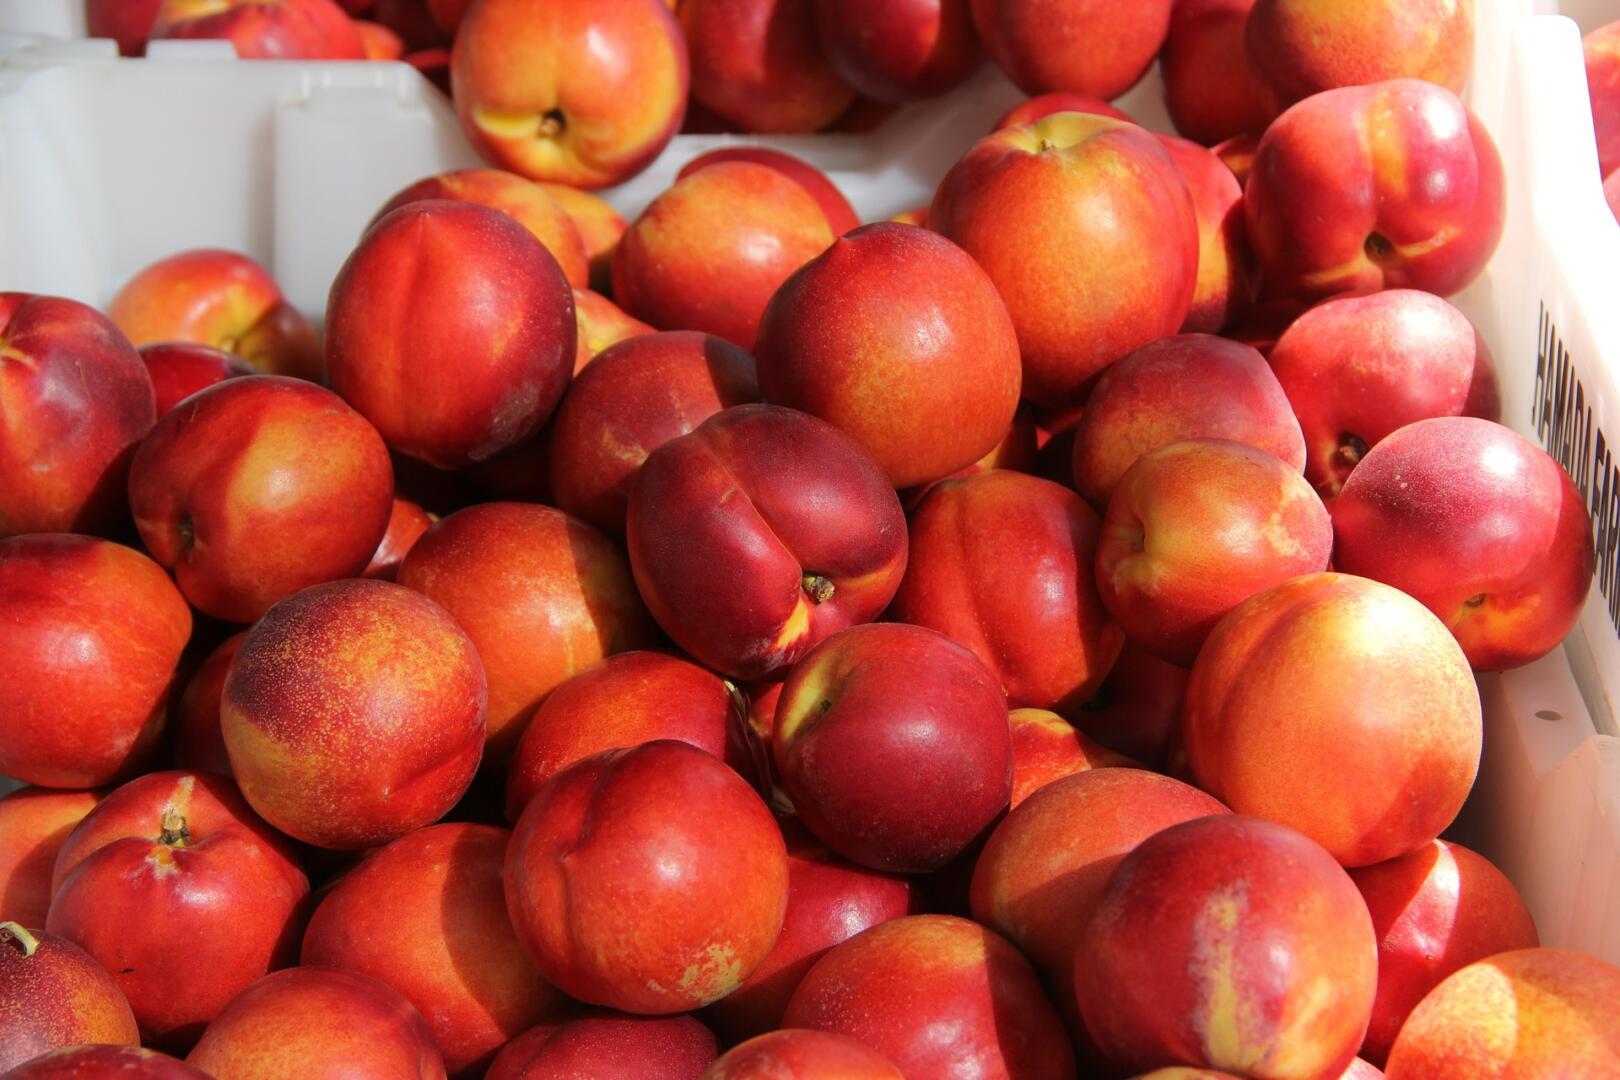
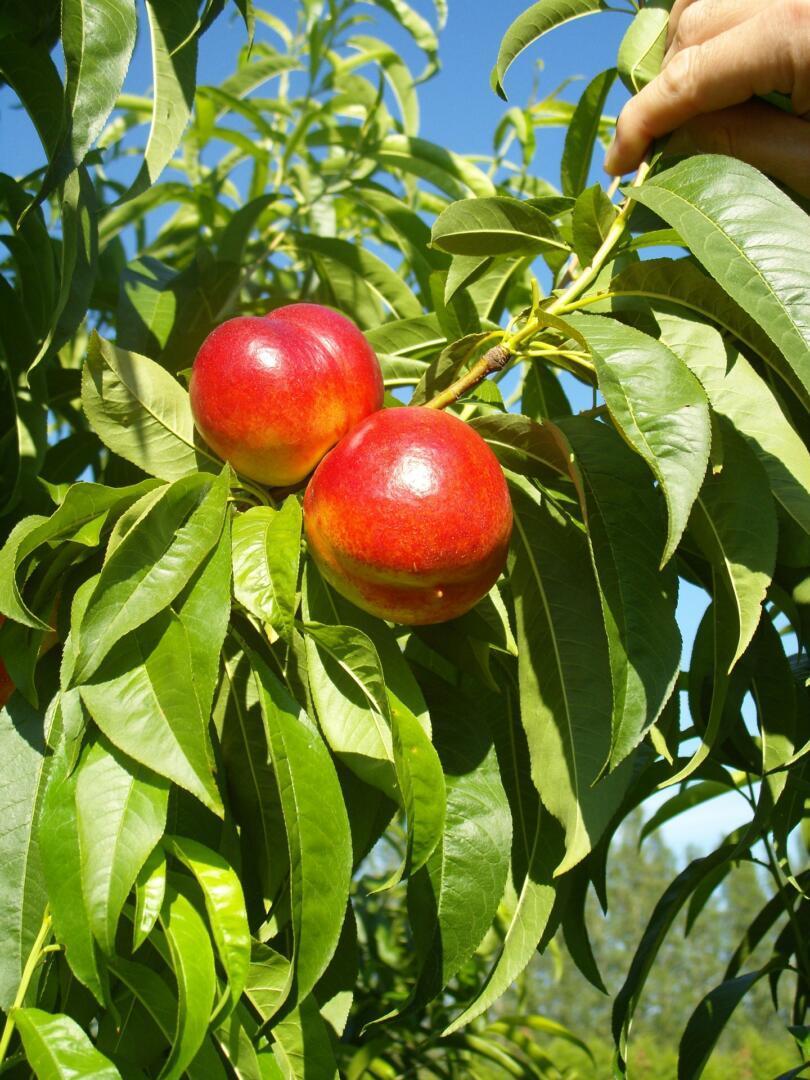
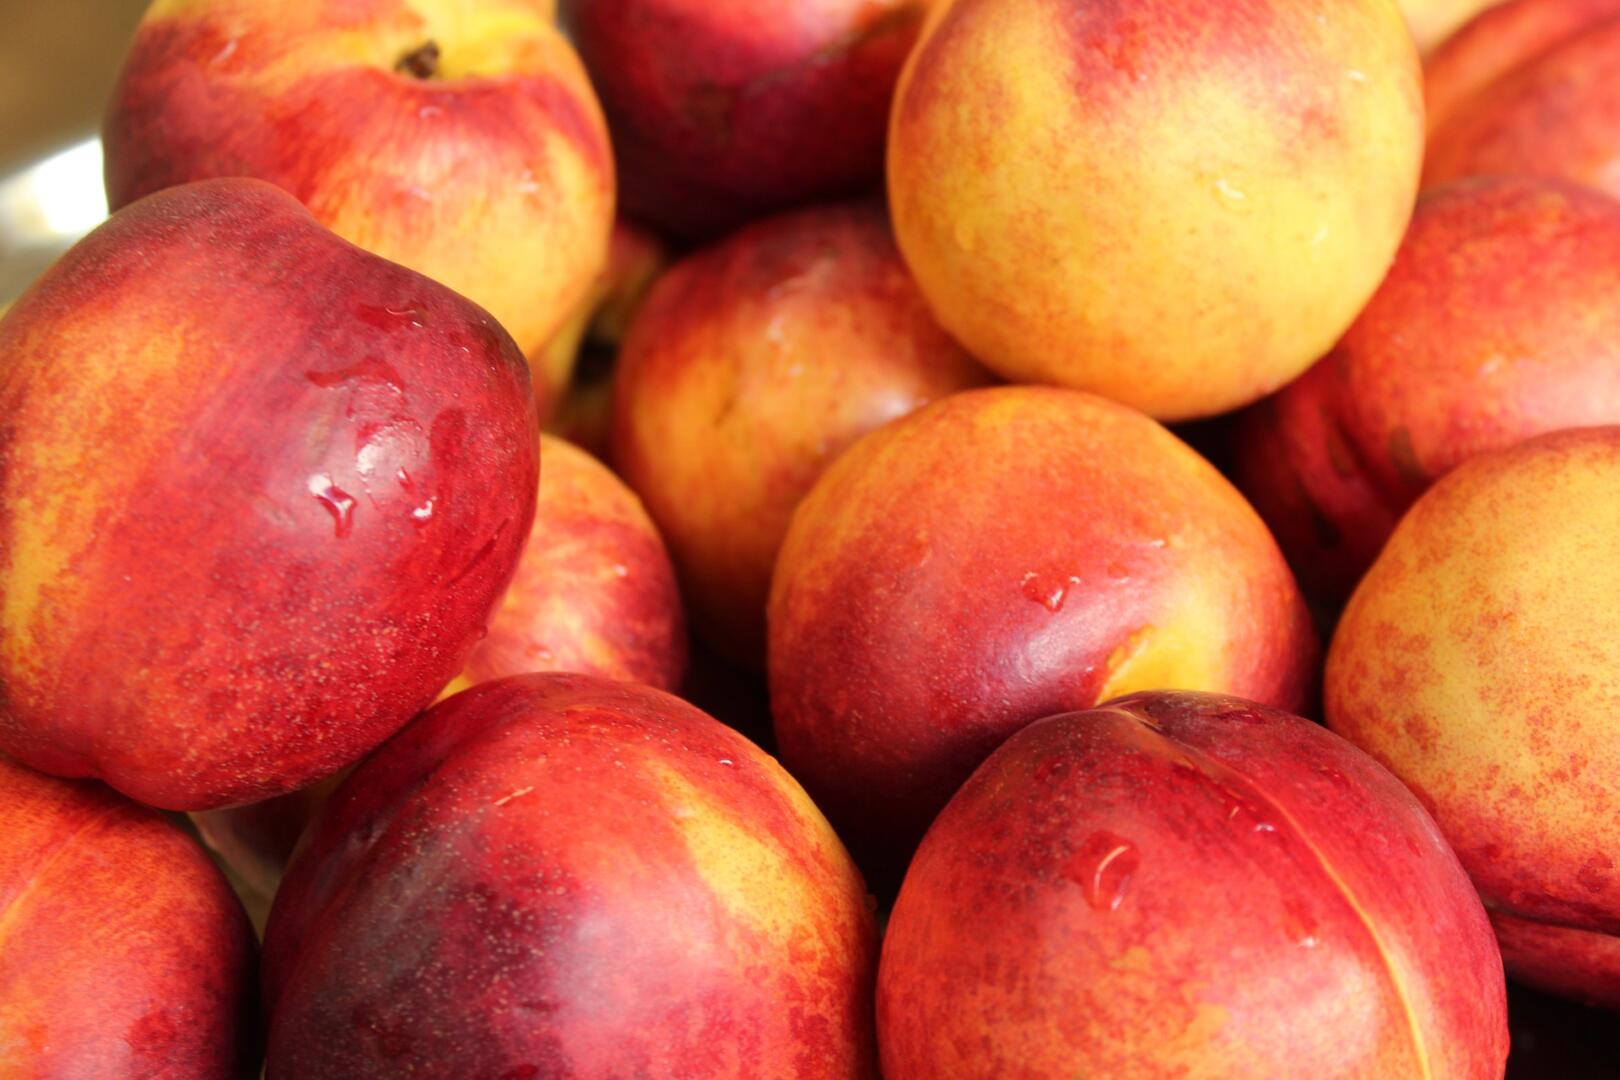
Nectarines are a type of peach, which makes it confusing to understand the difference between the two. They have remarkably similar flavors, so the easiest way to distinguish a nectarine is by its skin. Nectarines are smooth and have a slightly firmer texture than peaches.
When Planting Edibles, Always Start with a Plan:
Step 1: Comprise a wish list of plants.
Step 2: Experiment – Try something new!
Step 3: Know your land and location – Sunlight, space, and soil conditions.
Step 4: Growing methods – Raised beds, traditional rows, or containers?
Step 5: Choose your fruit – Start with trees, then berries and vegetables.
There is nothing more scrumptious than eating fruit harvested from your own crop, and your success begins with the planting site and method you use.
When you purchase your fruit trees from Herbein’s Garden Center, they should already be acclimated to our temperatures. If, however, you mail-order a plant, be sure to place them in a sheltered, shady area and gradually increase its time outdoors by 1-2 hours a day. After about 7 days, your plants should be ready to transplant into the ground.
BEFORE planting, consider these 4 things when planning your home orchard:
- Cross-pollination
- Sun and soil
- Surrounding area
- Space for future plants
Cross-pollination
Most nectarine trees are self-fruiting, meaning they will produce fruit without the need of a different variety of tree. However, when another variety is present, you will notice a higher fruit yield. Because insects and wind carry the pollen between the blossoms, you should have the cherry trees planted within 50’ of one another.
Plant in full sun (at least 6-8 hours) and well-draining fertile soil. Light is critical to fruit production and fruit quality and helps minimize fungal problems.
Well-draining soil will keep your nectarine tree’s roots healthy which is the foundation of a healthy tree. If necessary, add soil amendments to heavy or fast-draining soils. Add coco fiber potting medium or 1/3 peat to the soil at planting time. Fruit trees can be very adaptable and respond well to soil additives such as compost or fertilizers.
Check your soils pH before you dig. You can purchase a Penn State Soil Test Kit from us or a meter for a quick result. Nectarine trees need a soil pH between 6.0 – 7.0. Use Espoma Organic Garden Lime if your soil’s pH is too low, or Espoma Organic Soil Acidifier if the soil’s pH is too high.
Surroundings
Check for any wires, cables, underground utilities, or any other obstructions that could be a problem when your tree reaches full maturity. Once your tree is planted and is stable, it can be difficult to transplant later. If you start off by planting your fruit trees at the proper spacing, you can avoid any problems or issues in the future.
Spacing
If you are new to planting fruit trees. it is best to start with just a few trees and add more later. Plan where you would plant future trees and be sure you have adequate space for them.
Space Between Nectarine Trees
- Dwarf: 8-10’
- Standard: 12-15’
- Miniature: 4-6’
*Most nectarine trees that we carry are dwarf varieties, but always check the tree’s tag for information.
Preparing Your Soil
Roots will grow faster if they are in soil that is loosened and has enough room to spread. Dig your hole deep and wide enough so the root system has enough room to expand. If the soil needs loosened up, mix dehydrated cow manure, peat moss or compost (up to 1/3 concentration) into the pile of soil you dig from the hole. Use this to backfill and cover the plant’s root system.
Adding organic matter will improve just about any type of soil condition by helping retain moisture and nutrients and break apart clay soils so that water can penetrate through and roots can spread.
The goal of soil prep is to give your fruit tree a strong foundation, the best chance for survival, and to yield an abundance of fruit, as well as breaking up and adding nutritious organic matter. Replenishing nutrients and minerals that get used from the soil is an important process for the overall health of your tree.
Planting
- Once you get your fruit tree home, if you cannot plant it right away, you will need to keep the roots hydrated, however, do NOT place in a bucket of water as this might cause root rot or even kill the tree.
- Dig a hole deep and wide enough to accommodate its current root system and having plenty of room for the roots to spread out.
- Gently pull the tree from its pot and loosen the roots. Place the tree in the hole with roots down. Add Espoma Organic Bio-tone Starter Fertilizer at the time of planting to the backfill soil to help produce a large root system quicker. This will help ensure that your new plant gets maximum water and nutrients from the soil to minimize transplant loss. Backfill with the soil you dug out.
- Create a rim of soil around the planting hole about 2” above the ground level. This will allow water to stop and soak into the ground surrounding your newly planted fruit tree. In fall, level out this hill of soil to prevent water from ponding and freezing around your tree.
- This is a good time to stake your tree to help keep it straight.
- At this point, remove any tags that are on your tree. If not removed, it could become tight and cause injury or be fatal to your tree. If you want to keep the tag with your tree, replace it with a loose piece of twine that you can keep an eye on as the tree grows and loosen as needed.
- Water thoroughly with a deep, slow soaking. If the soil settles, add more soil until it is ground level.
- If you are planting your fruit tree in the fall, wait until spring to apply any fertilizers.
- Adding a layer of mulch around your tree will help keep rodents out, discourage weed growth, and keep water from evaporating at a quick rate. Add another layer of mulch in the fall for extra protection during winter months.
When to Fertilize
Nectarine trees thrive from macronutrients that are present in the soil. You will need to fertilize but be sure to take care that you do not over-fertilize which could affect fruit production and leave the tree susceptible to pests and disease. Signs of macronutrient deficiency in nectarine trees include reddish or pale colored leaves, narrow or shrunken leaves and dead spots on leaves. In general, fruit trees need a well-rounded fertilization plan to help them produce to their maximum capabilities.
Micronutrients are also needed in the soil. These include copper and zinc that help prevent color mottling and misshapen leaves, and calcium that helps to improve leaf and fruit quality. The easiest way to add micronutrients is by adding aged compost or a balanced fruit tree fertilizer that states micronutrients are in the formula.
Use Espoma Organic Tree-tone fertilizer to provide your tree with Nitrogen (for leaf and branch growth), Phosphorous (for root and blossom development), and Potassium (for the tree’s natural disease-resistance and overall health).
Here is an easy way to remember what the (# – # – #) stands for on packaged fertilizers = Up↑ leaf & branch growth – Down↓root growth – All Around⸨⸩ overall health.
If you already have nutrient-rich soil, you can hold off fertilizing until the nectarine trees begin to bear fruit. If they do not put out several inches of new green growth during the growing season, start using a fertilizer the next spring. Each year test the soil to see what nutrients it needs and if nitrogen levels are low, then apply a low-nitrogen fertilizer in small amounts before bud break in early spring. You can still fertilize after bud break, but not after July 1st.
Pests & Disease Control
Nectarine trees may experience pest or disease problems during growth. Factors like location and weather will play a role in which issues your fruit tree will encounter. Practicing proper maintenance on your fruit tree such as watering, fertilizing, pruning, spraying, weeding, and cleanup will help keep most issues at bay.
Below is a list of pests that have been known to make an appearance on nectarine trees.
Aphids Plum Curculio
Borer Red Humped Caterpillar
Leafroller Rose Chafer
Japanese Beetle Scale
Mites Tent Caterpillar
Oriental Fruit Moth
Below is a list of diseases known to infect cherry trees.
Bacterial Canker Powdery Mildew
Bacterial Leaf Spot Scab
Brown Rot Shot hole
Crown Gall
Leaf Curl
Grab our brochure “Pest & Disease Control for Edibles” for more in-depth info.
Pruning is essential for proper development of fruit tree growth.
Pruning vs. No Pruning
It is in the best interest of your nectarine tree to do some pruning versus none at all. If left unpruned, your cherry tree may not produce fruit, grow as well, or may not grow at all.
- Plan on pruning your nectarine tree every year during its dormant season, in late winter. This stimulates stronger and more vigorous growth from the remaining buds and provides a structured shape.
- Make sharp, clean slanted cuts about a ¼” away from the next OUTWARD pointing bud so you don’t leave a messy stub that won’t heal over. Cutting just above the outward bud will help new growth to take on a spreading shape which keeps the inner area open to air circulation and light.
Shape and Structure
Prune a nectarine tree to a “V-Shape”. Select and maintain 3-5 main scaffold limbs coming from the trunk to control the shape of the tree. These limbs should point in all directions and be no less than 18” and no more than 36” from the ground, balancing growth evenly between the scaffold limbs. Those branches remaining in the center above the primary scaffold branches or any growth below the scaffold branches should be cut off. Any growth that comes within 6” of the trunk should be removed.
- For later pruning, all branches above or below the scaffold branches should be removed. Avoid cutting the main scaffold branches unless it’s necessary to maintain balance in the tree. If there is a branch that grows longer than the others, it should be trimmed back to maintain balance as well.
Pruning Whips
Whips are unbranched trees, which are ideal if you want more control over which branches can develop, such as an espalier type. Prune whips back to about 28-36” above the ground at the time of planting. After new branches have grown 3-5”, pick a shoot that will be the leader and the rest become the tree’s scaffold limbs.
Sometimes off-season pruning is necessary. This could be damaged branches broken by wind, diseased branches, or branches cracked by the heavy load of fruit. Fast-growing tree suckers and sprouts should be removed as soon as you notice them.
Fruit Thinning
Thinning fruit can be done by hand in home orchards. In May and June, many nectarine trees will start to drop fruit in a natural process that allows the tree to mature the remaining crop. If not corrected through thinning, nectarine trees could only produce biannually or perhaps light one year and heavy the next. The best time to thin nectarine trees is when they are about 1 – 1 ½” in diameter. Thinned out fruit should be spaced about 6-10” apart on the branch.
Spraying Nectarine Trees
A well-rounded and consistent spray plan can be significant to the survival of your nectarine tree and can prevent potential problematic issues.
General Preventative Maintenance:
When to spray:
- Leaf Fall (late autumn) – use Bonide® Fung-onil for leaf curl.
- During New Growth – use Bonide® Fung-onil for shot hole, brown rot, and scab.
- Pre-Bloom – use Bonide® Captan Fruit & Ornamental for shot hole.
- Full Bloom – use Bonide® Captan Fruit & Ornamental for brown rot and scab.
Pest Controls:
Bonide® Captain Jack’s™ Deadbug Brew
Bonide® Thuricide® BT
GardenTech® Sevin® Bug Killer
Bayer Advanced™ Complete Insect Killer
Disease Controls
Bonide® Captan Fruit & Ornamental
Bonide® Fung-onil™ Fungicide
Serenade® Garden Disease Control
Combination Sprays
Bonide® Citrus, Fruit & Nut Spray
Watering
Unless you planted your nectarine trees in an area where you would water your plants for “normal” plant growth, you probably will not need to water after the first growing season. However, do not forget to water directly after planting at your site. Also, here is another reminder to level out the soil berm around the trunk before winter begins.
Harvesting
When to Harvest
Are you ready to enjoy nice juicy nectarines? Harvest season is July through September, depending on the variety.
- Pick nectarines at the last minute when they are ripe. A light twist will loosen any fruit that is ripe and ready to pick.
- Store at room temperature for a day to bring out the best flavor in nectarines.


